Hello:
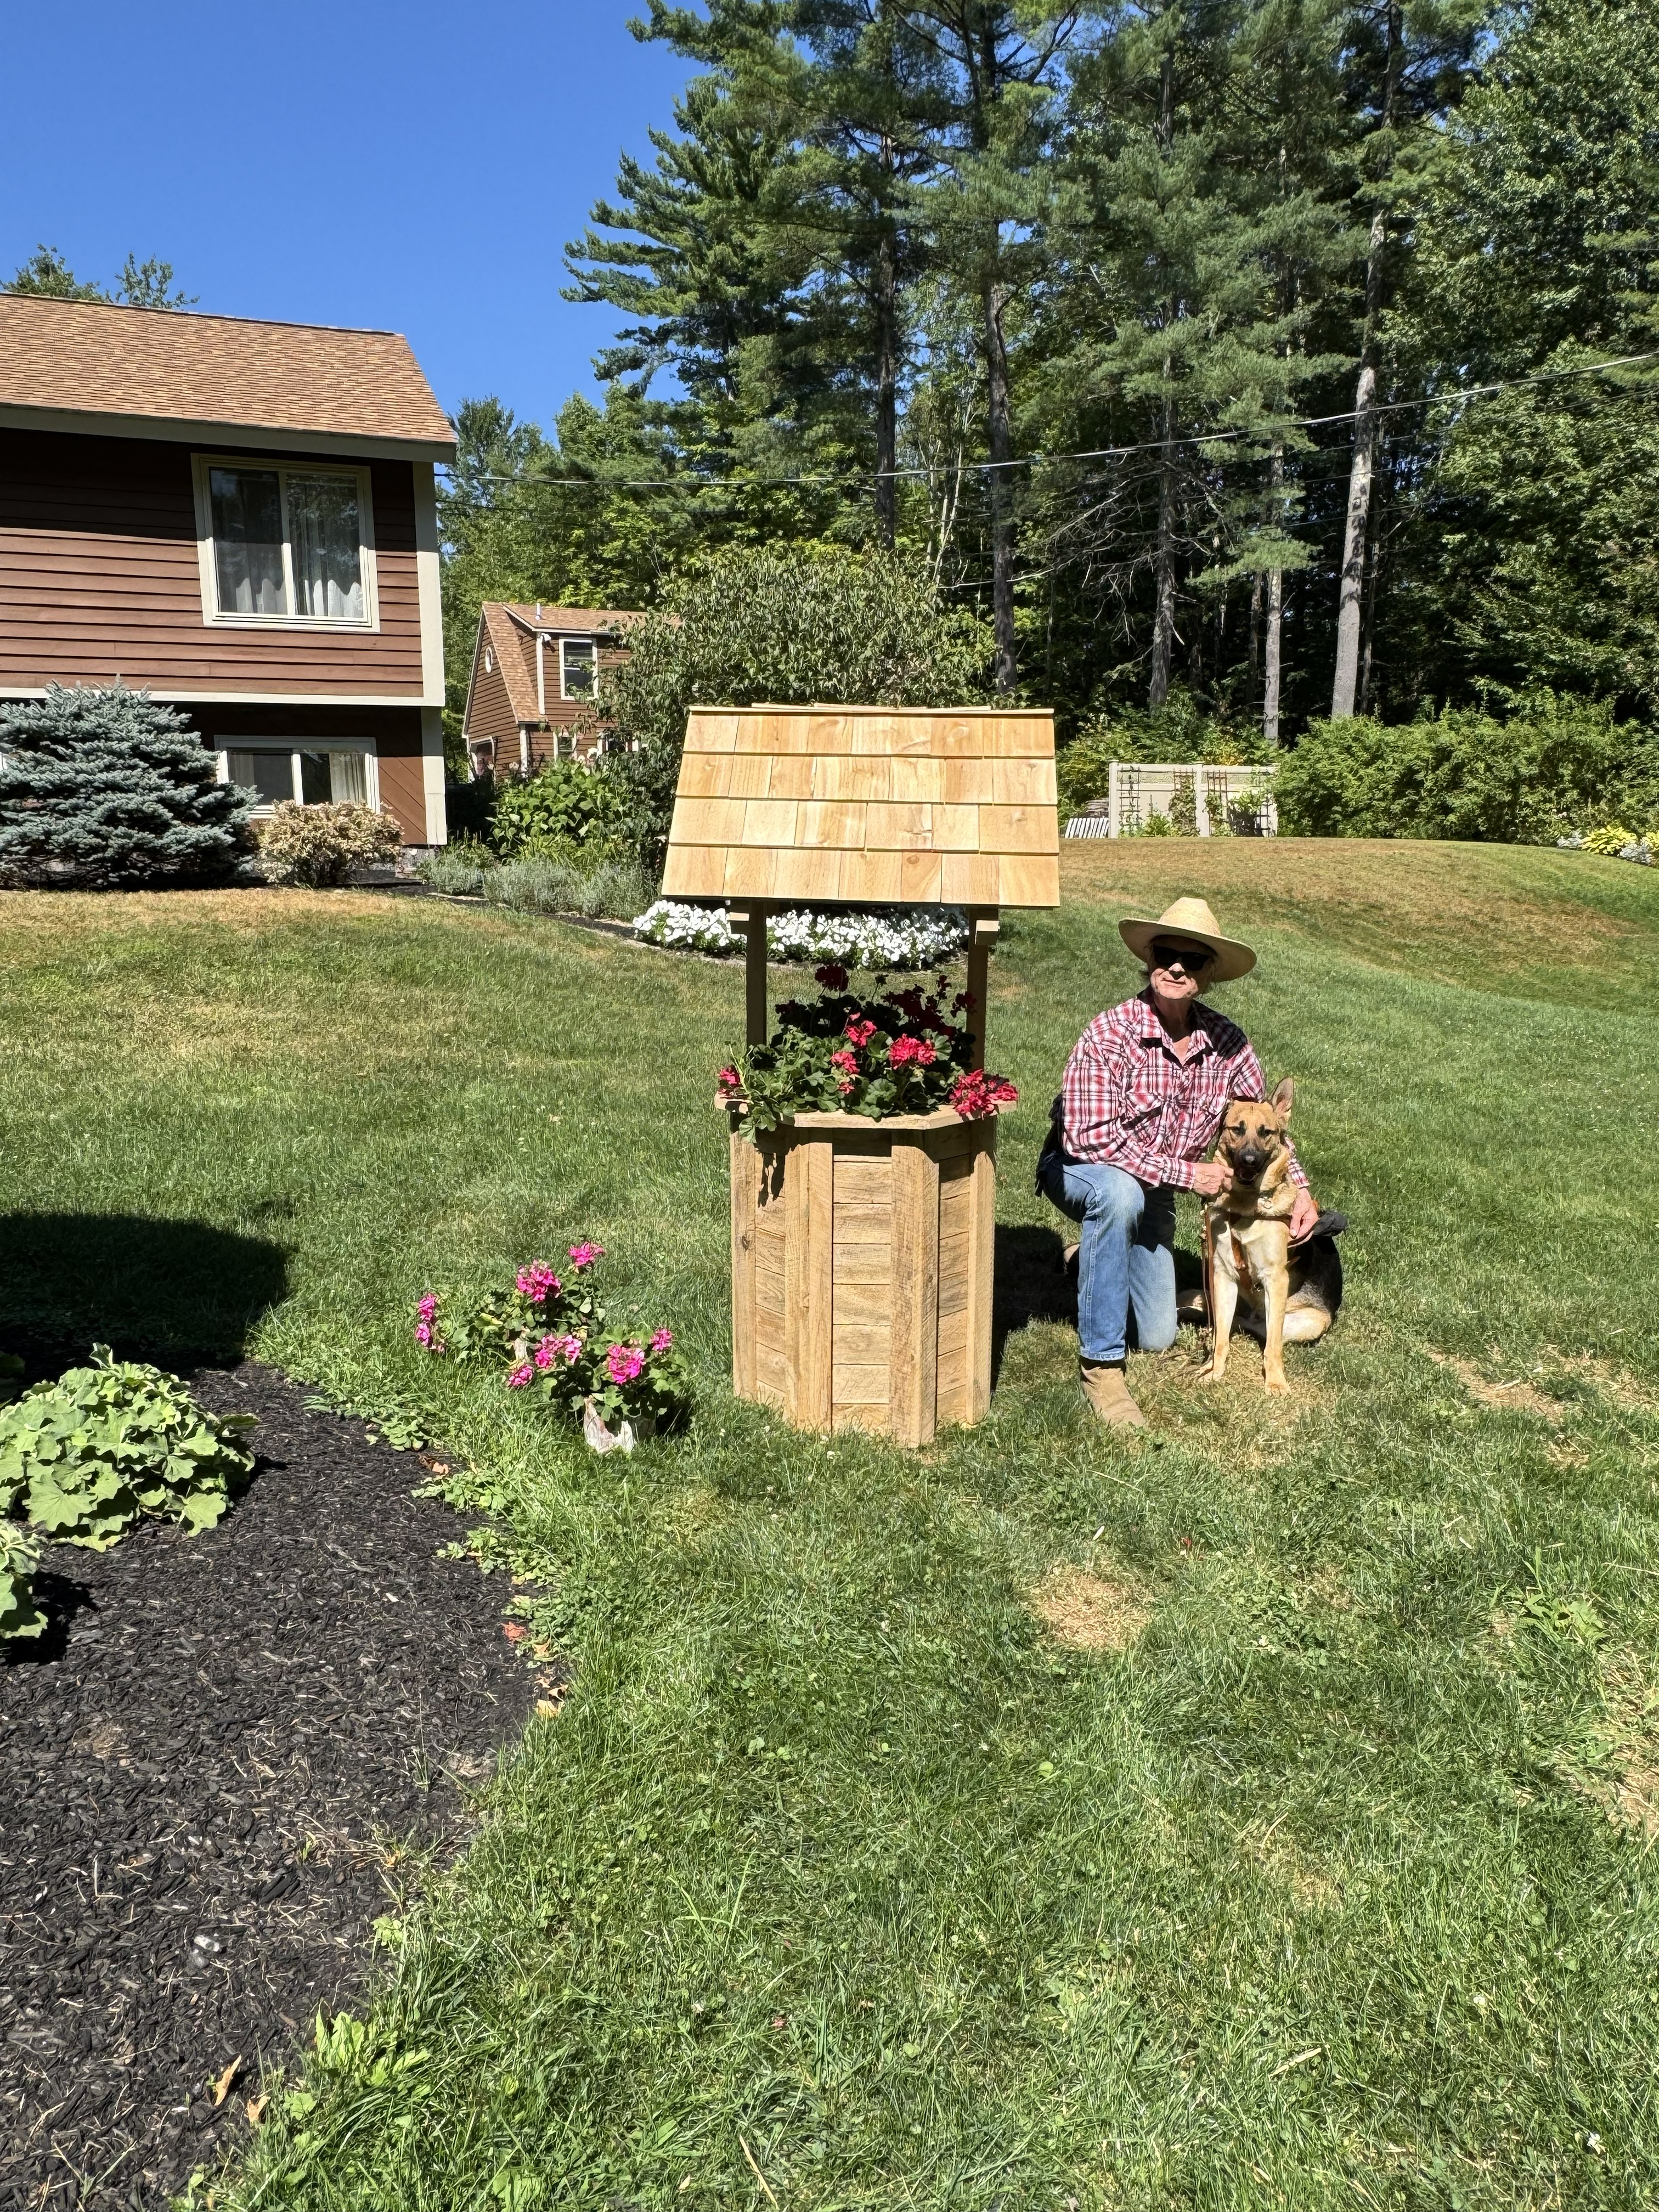
Please let me have a moment of your time to introduce myself. I am Jim King and with me is my faithful Seeing Eye dog. We became partners this past spring, 2025. When we are not out and about in Winthrop, we are likely to be in the shop deeply involved in a new project.
This wishing well is my own design. I wanted to make something for the home that is both traditional and unique. The lumber is air dried hemlock from By The Board in Readfield. There are 96 individual pieces of wood in the barrel, not including the cleats and planting platform. Building the barrel presented a bit of a challenge but after developing some new clamping methods, it came together quite well. The roof has a standard 12/12 pitch and is covered with traditional cedar shingles from Hammond Lumber in Belgrade.
The design of the wishing well does break with tradition in one important way. In order to help insure safety, a ground anchor system is integrated into the barrel. Once the wishing well is properly anchored and the planting platform is in place, the anchor system is hidden from view.
It is highly recommended that the wishing well be treated with a sealer such as Thompson’s WaterSeal or an equivalent product. This will help protect the wood from rot, mildew and insect damage. It is important that all exposed surfaces be treated. This includes the bottom edge and inside of the barrel. The planting platform, anchor board and under side of the roof. Optionally, a tint or stain may also be applied. If a stain separate from the wood preservative is used, be sure to follow the instructions for the wood preservative to insure compatibility between the two products. Many wood preservatives are available with a tint that may provide the desired color.
Another suggestion to help your wishing well last as many years as possible is to line the inside of the planting area with heavy plastic sheeting. It is also recommended that plants be in pots so that soil does not come in direct contact with the wishing well.
With care and maintenance, your wishing well will bring many years of
enjoyment to you and your family. Please feel free to contact me if you
would like help with installation or just have questions.
I care about the projects I make and hope that each one has a happy
home. Please let me know how you like your wishing well.
To complete the installation you will need a shovel, level and measuring tape. One cubic foot of sand or crushed gravel and four 8 X 16 X 2 inch concrete pads.
Base
Level an area 34 inches by 34 inches and cover it with 2 inches of sand or crushed gravel.
Screw the anchor screw into the center of the base area. Be sure the eye of the anchor screw is parallel to one side of the base area and that it is in the center of the base area, i.e. 17 inches from the center of each edge of the base area. Install the anchor screw as deep as possible so that only the eye remains exposed.
Place concrete pads in the base area so that the long side of each pad is 1 inch from the edge of each side of the base area and that each pad is centered along its own edge of the base area. When properly placed, the inside corners of each pad will just touch the corners of the adjacent pad. This arrangement will form a square where the eye of the anchor screw is in the center of the square.
Be sure that each pad is level and that all four pads are at the same height.
Anchor board assembly and ratchet strap
Remove the planting platform from the wishing well. The planting platform is in two pieces. It is split in the center. Under the planting platform is the anchor board assembly and it rests on cleats that are lower than the cleats for the planting platform.
The anchor board assembly is in the form of a trough and it has a hole at each end through the bottom of the trough.
The ratchet strap is in two parts, the ratchet with a permanently connected short strap and hook, and a long strap with a permanently connected hook at one end.
Remove the anchor board assembly from the wishing well and place it on the ground about three feet from the outside of the base area. Place it so that the bottom of the trough is facing the base area and it is parallel to the edge of the base area.
Fasten the long strap to the ratchet. Fasten the hook of the long strap into the loop of the short strap that also holds the ratchet itself. This puts the hook as close as possible to the ratchet, which is necessary so that the trough of the anchor board can accommodate the ratchet and hooks. The hook which is permanently connected to the end of the short strap is not used.
Thread the free end of the long strap down through a hole in the anchor board assembly, i.e., from inside the trough through the bottom of the anchor board assembly to the bottom. Next, thread the free end of the long strap through the eye of the anchor screw and then back up through the other hole in the bottom of the anchor board assembly.
Thread the free end of the long strap through the slot in the ratchet and pull the long strap through the ratchet so that the strap, anchor board and anchor screw eye form a triangle.
Place the wishing well close to the base area on its side with the bottom opening toward the base area.
Thread the anchor board and ratchet strap assembly through the bottom opening of the wishing well and put it in place so that the trough containing the ratchet is facing toward the top of the wishing well and the ends of the anchor board are resting on the top edges of the lower cleats.
Stand the wishing well squarely on the concrete pads. The eye of the anchor screw should be in the center of the wishing well.
Tighten the ratchet strap so that there is enough tension to prevent the wishing well from tipping. Do not over tighten. The tension of the ratchet strap should be checked periodically and the strap may need to be tightened occasionally due to settling.
Place the surplus strap in the trough of the anchor board and replace the planting platform.
The wishing well is now ready for planting. Be imaginative, creative and have fun.
Jim King